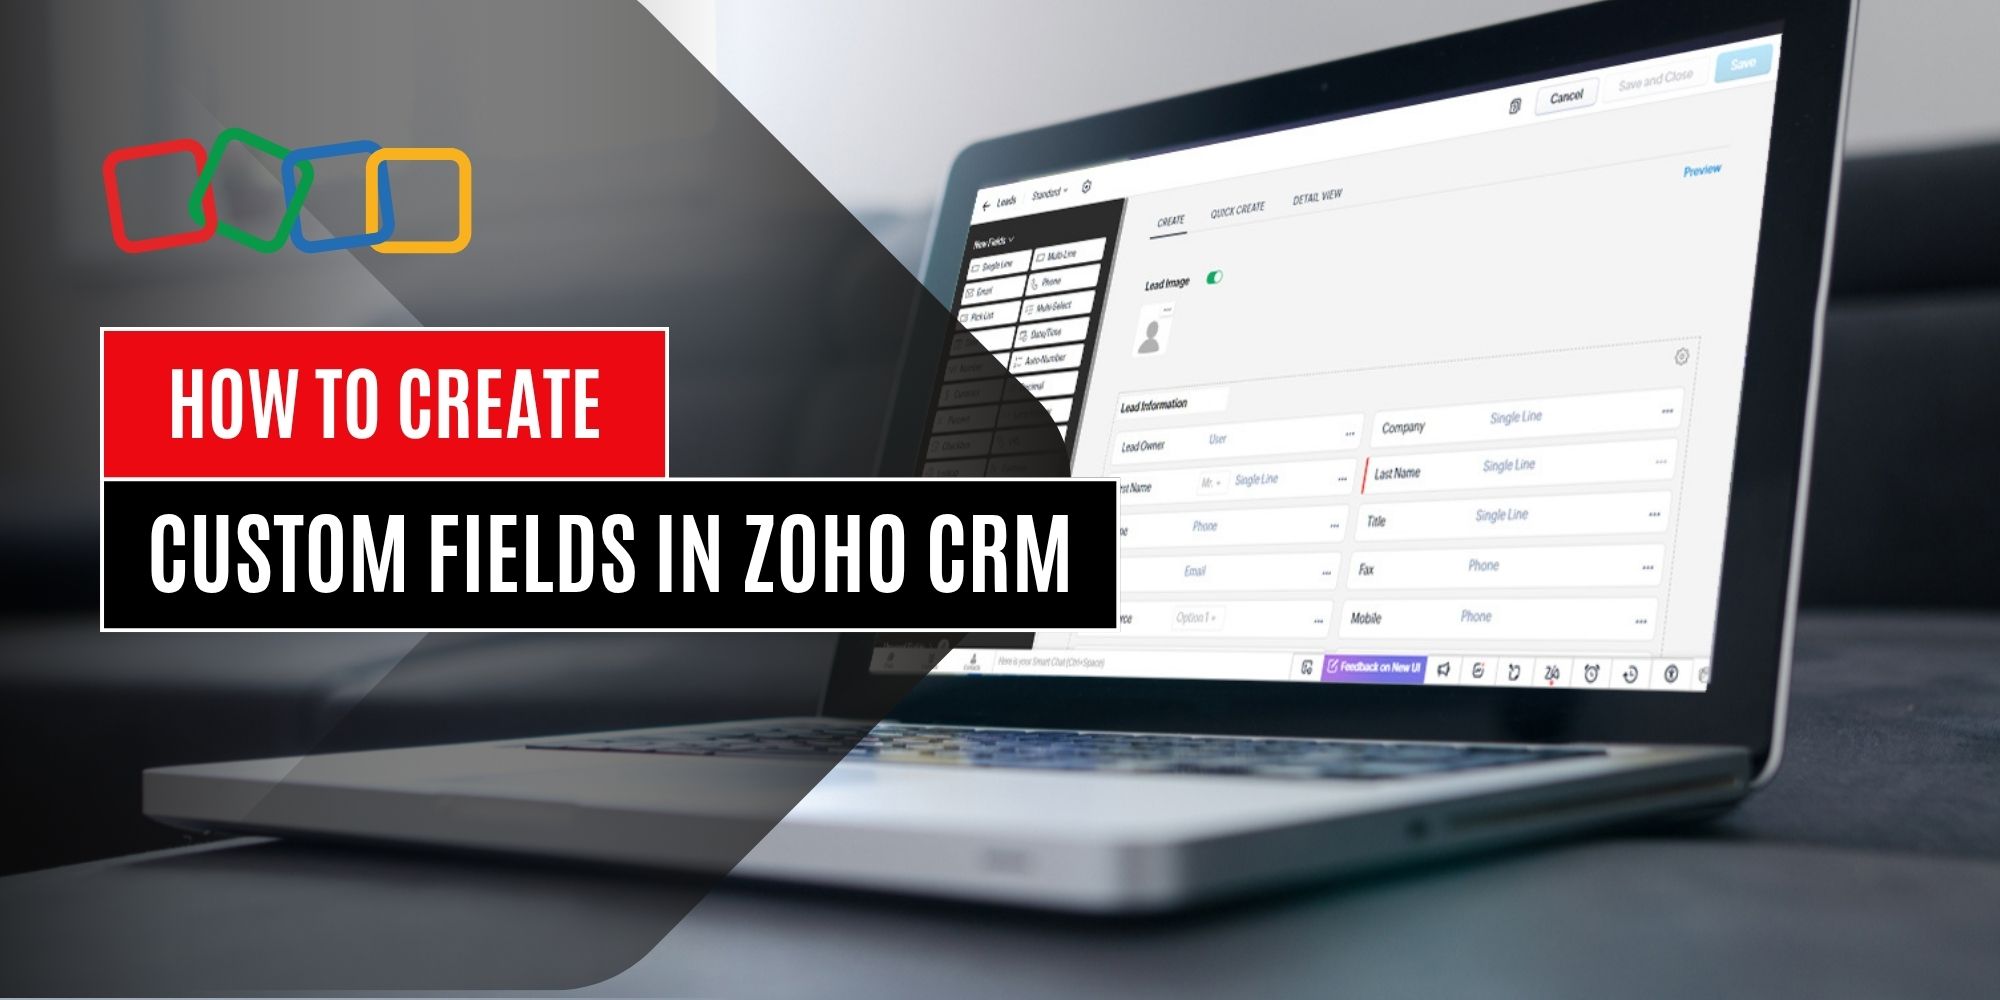
Hello, and welcome back to the blog! Today, we’ll be talking about custom fields in Zoho CRM. If you’d also like to watch a couple of videos on how to do other things in Zoho or Salesforce, feel free to jump on over to our YouTube channel here and poke around. If you’re ready to get your Zoho on, sit back, relax, and get to scrolling.
Zoho CRM is designed to help businesses manage customer relationships more effectively, but no two organizations collect the exact same data. That’s where custom fields come in. By creating fields tailored to your specific processes, you can capture the information that matters most to your team. Whether it’s tracking industry-specific details, recording customer preferences, or storing unique identifiers, custom fields ensure your CRM reflects the way your business actually operates.
Why Custom Fields Matter
The default fields in Zoho CRM provide a solid foundation for most sales, marketing, and customer service needs. However, businesses often require data points that go beyond the standard setup. Custom fields allow you to extend modules—such as Leads, Contacts, Deals, or Accounts—so you can track everything that supports decision-making. The result is more accurate reporting, improved team collaboration, and a system that works with your unique workflows instead of forcing you to adapt to its limitations.
Types of Custom Fields in Zoho CRM
Before creating a field, it’s important to understand the different types available:
- Text fields for short entries like names, IDs, or notes.
- Number fields for storing values such as revenue or headcount.
- Currency fields for financial data.
- Date and Date/Time fields for tracking important milestones or deadlines.
- Checkboxes for yes/no options.
- Picklists and multi-select picklists for standardized responses that improve consistency.
- Lookup fields for linking related records between modules.
- Formula fields for calculating values automatically, such as commission amounts or deal profitability.
Choosing the right field type ensures data is both useful and easy to maintain.
Steps to Create a Custom Field
Creating custom fields in Zoho CRM is straightforward, but it’s worth approaching thoughtfully so you don’t overwhelm users with unnecessary options. Here’s how to do it:
1. Navigate to Setup
Click the wrench icon in the top-right corner of your Zoho CRM dashboard. Under the “Customization” section, select Modules and Fields.
2. Choose the Module
Decide where you want to add the field—Leads, Contacts, Deals, Accounts, or another module. Each module can have its own set of fields tailored to the type of data it stores.
3. Enter the Layout Editor
Click on the module name and select Layout. This opens the layout editor, where you can drag and drop fields into specific sections of the record.
4. Add the Custom Field
In the layout editor, choose the type of field you need from the available options, then drag it into place. You’ll be prompted to provide details such as the field label, default value, and whether it’s a required field.
5. Configure Properties
Decide if the field should be mandatory, unique, or read-only. These properties help maintain data integrity and prevent duplication. For picklists, you can define the available choices to ensure consistency.
6. Save and Test
Once configured, save the layout. Test the field by creating or editing a record in the module to confirm that it behaves as expected.
Best Practices for Custom Fields
Adding custom fields is easy, but thoughtful planning makes the difference between a useful CRM and a cluttered one. Keep these best practices in mind:
- Define goals first. Only add fields that support reporting, automation, or decision-making.
- Use picklists when possible. Standardized options improve reporting and reduce inconsistent data entry.
- Avoid overloading users. Too many fields can make forms overwhelming and lead to poor adoption.
- Group related fields. Use sections in the layout editor to organize fields logically.
- Review regularly. As your business evolves, some fields may no longer be useful. Audit your CRM periodically to remove or update them.
Real-World Example
Imagine a real estate agency using Zoho CRM. Standard fields may not capture everything needed, so they add custom fields like “Property Type,” “Listing Status,” and “Square Footage.” These fields allow agents to filter leads, build targeted campaigns, and generate reports on the most profitable property categories. By creating fields that align with the business, the CRM becomes a powerful tool for tracking and closing deals more efficiently.
Custom fields in Zoho CRM empower businesses to collect and manage the exact data they need. By choosing the right field types, configuring them properly, and following best practices, you can create a CRM environment that reflects your unique workflows and drives better results. With just a few clicks, Zoho transforms from a standard CRM into a personalized system that supports your long-term growth.
Thank you so much for reading! Until next time!


